Satisfy your inner chemist by turning your eyeshadow outliers into nail polish with a few easy steps.
Gather Your Supplies
You’ll need:
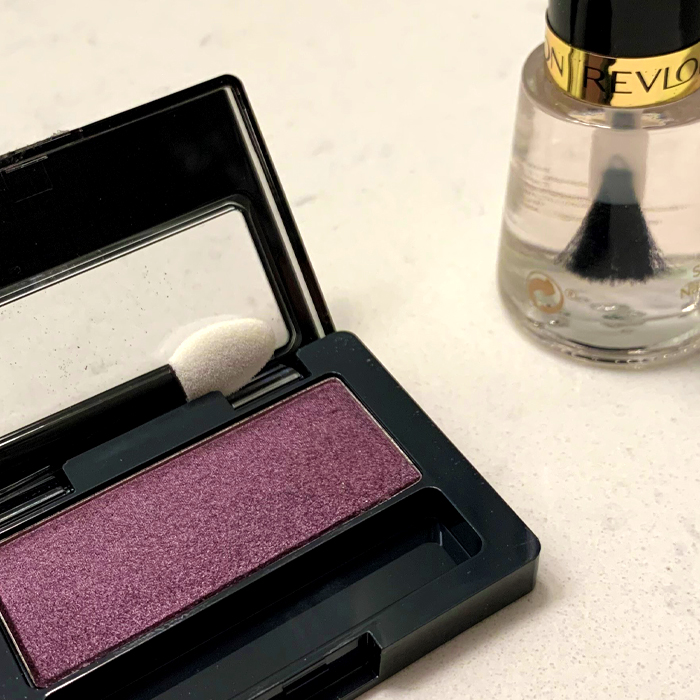
- Powdered eyeshadow
- Clear base- or top-coat nail polish
- Clean-up brush
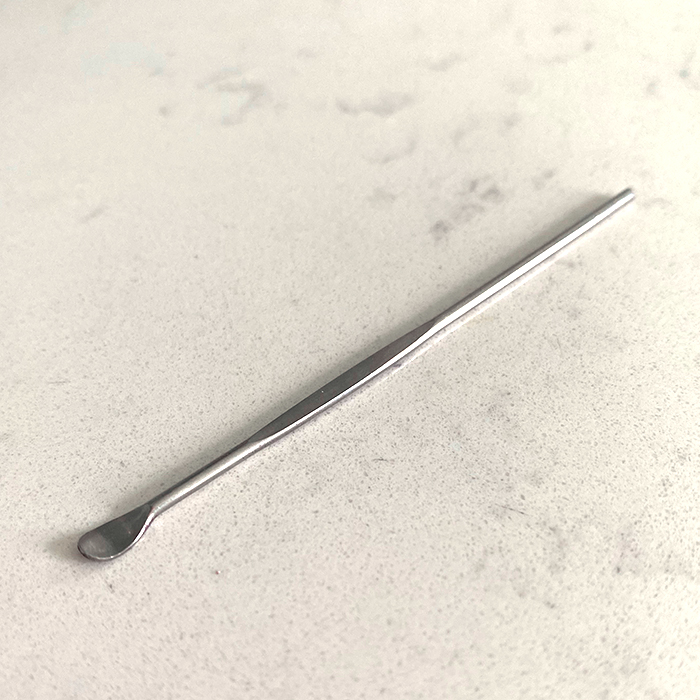
- Cuticle pusher
- Mini funnel (you can DIY one with paper)
- Nail polish remover
- Paper towels
5 Steps to DIY Nail Polish
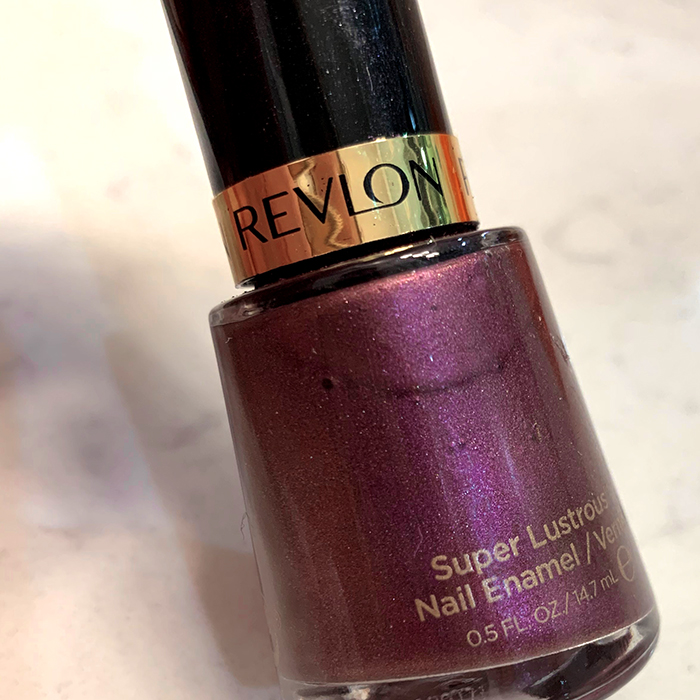
Step 1: Pour out some of the clear polish. If you’ve used your clear polish before and there’s room at the top, skip this step.
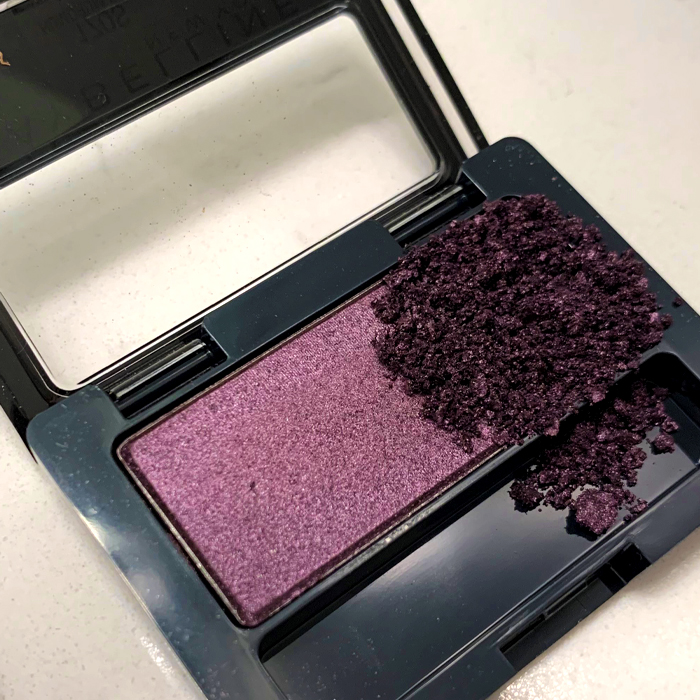
Step 2: Choose your eyeshadow shade, and crush it up. The cuticle pusher is perfect for gently crushing the eyeshadow into a fine powder. Either pop the color out of the palette, or crush it right in the container. Work on top of a paper towel to keep the mess to a minimum.
Step 3: Add the powder to the clear polish. Use the cuticle pusher as a little shovel to scoop the powder into the polish. You can also make a mini funnel out of a small square of paper, about the size of a sticky note.
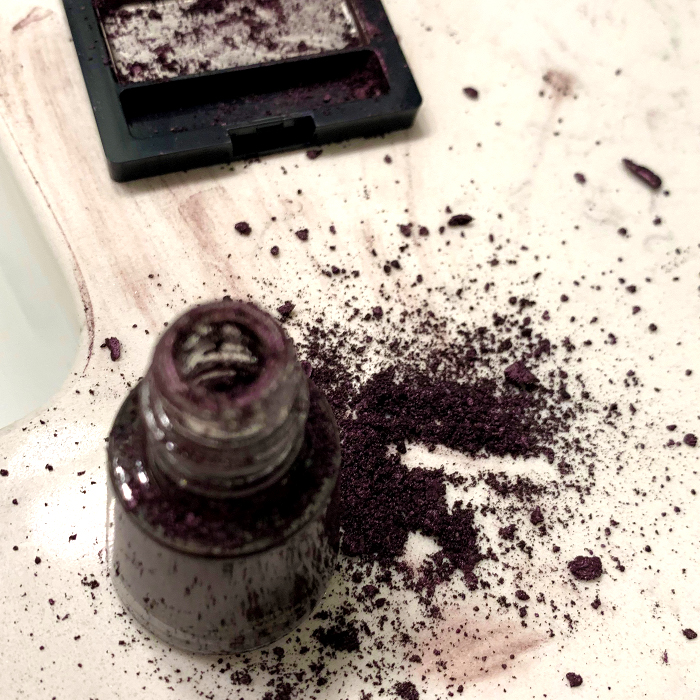
Step 4: Shake, shake, shake. As you add the powder, it settles at the bottom of the nail polish bottle. After adding the powder, screw the cap on the bottle and shake it for a few seconds.
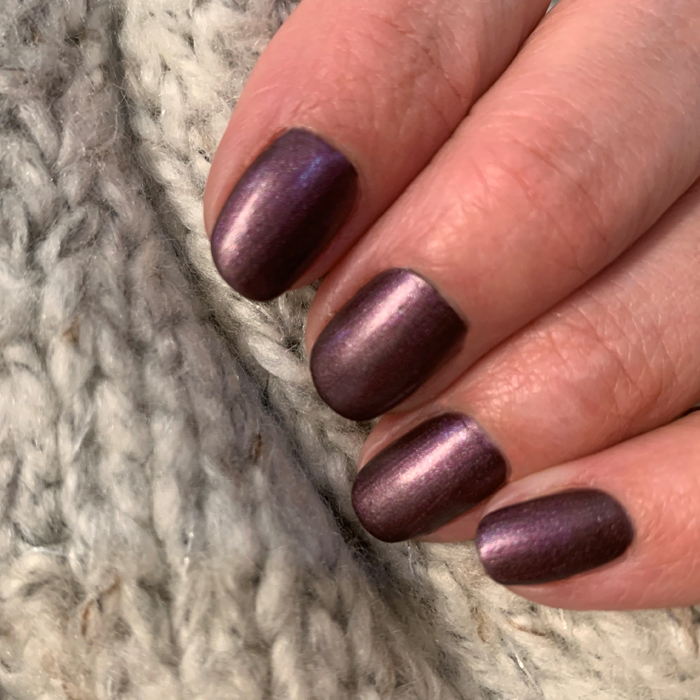
Step 5: Paint your nails. The polish will be a little thinner than store-bought polish, so it will spread faster. If it gets on your skin, a clean-up brush dipped in nail polish remover does the trick.

DIY Nail Polish Tips
- Use clear nail polish that’s in a clear bottle
- Add a little bit of powder at a time, shaking the bottle each time to help you reach your desired shade
- Add more powder for a darker polish; use less powder for a sheer polish
- Shake the bottle before each use